When I decided to make YouTube a bigger part of my life (as a creator; as opposed to a viewer), I had no clue how much work, effort, and LOVE needed to be put into maintaining a channel. I mean, just social media marketing itself (forget any content) is a full-time job! Then, researching, planning, designing, setting-up, filming, taking-down, editing, uploading, updating, etc. etc. etc..
Having learned that now, I appreciate what other YouTubers do so much more. It really DOES take 10+ hours to make a 10 minute video – even for something as “basic” as an origami tutorial.
Still, thanks to a bit of help from upyourviews.com, and the fact I’ve worked hard to produce interesting, regular content, my follower count is slowly going up which is motivating me to keep going and make my videos even better. Lately, I’ve been working on improving the lighting of my videos – without breaking the bank, and without taking TOO much extra time.
Here’s the before/after photo.

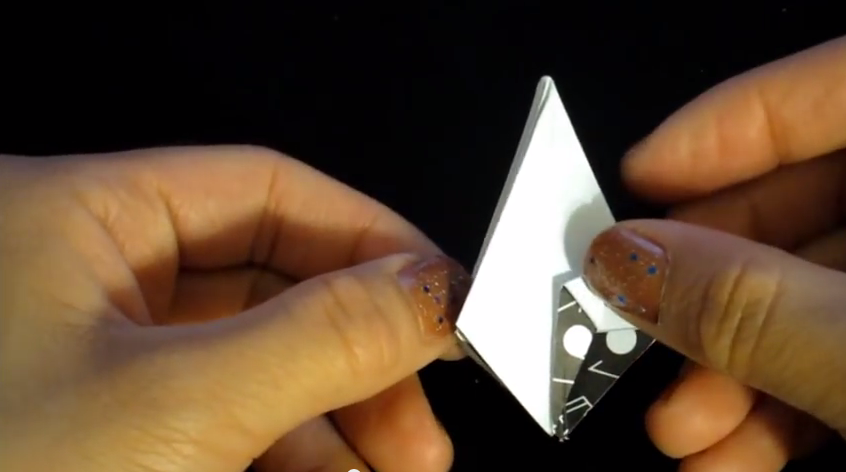
AFTER – Origami Fox Tutorial
I’ve upgraded to studio lights, and also changed the background from black to white, to increase the contrast. It’s still not perfect, but much better than before. I think I will stick to this new set up for a while. It’s fast and efficient – exactly what I was striving for. I have no plans to film “professionally” at the moment.
My next task is to upgrade the audio. I recently ran into another YouTuber who stressed the importance of fine audio, so I will take his advice into consideration. I was using a Yeti mic for a while, which I thought produced pretty great audio, but then I stopped doing it because it was so time-consuming. Then, for a while, I used the audio from my video camera, which sucked. So then I used a lavalier mic, which was BETTER, but still sucked. I’ve been told about Graham Slee HiFi and to check out what they have in terms of audio and sound equipment for me to peruse, it does sound interesting and maybe it might bring my audio up to that extra level I need!
My filming set-up also makes it impossible to have yet ANOTHER metal stand in front of me (I already have a camera tripod, 2 studio lights, etc., which makes the workspace extremely cramped). If I added another stand, I wouldn’t be able to SEE the origami paper, LOL. I can barely move my legs as is. 😉
So yeah, I need to give some more thought into how to place the mic so that it won’t get in the way of everything else – and also not affect my daily “quality of life/functioning.” I’ve already tripped on, tipped over, and bumped into, the massive studio lights a gazillion times. They also block my closet door, AND my bed, HAHA.
Ideally, I’ll have a separate studio room/table/computer/camera/mic/etc. just for making videos, but my channel is a too small for me to make that kind of investment. I need to be realistic about how I go about improving production quality.
In an ideal world, I would have a little space purely for filming in my home office. I spend a lot of time in my office, so it would make sense for me to be able to film my videos from in there. Plus, I have just purchased some new office furniture including an adjustable office chair and a new desk so it would be nice to be able to put them into use. Also, my office is probably my favorite room in my house as it is decorated to suit my style and tastes.
To be honest I have had some other ideas for my next few YouTube videos that I might test out soon too. For example, a friend of mine has recently had some 2d animation explainer videos made to promote her business.
Animated films are a great way to add some variety and personality to your YouTube channel and can also work as a brilliant marketing tool. Watch this space!
But, yes, ultimately I guess the verdict is to make slight adjustments as I go. Better audio (not PERFECT audio) will be my next challenge.

